
Packing slips provide a checklist for internal teams that bag orders to ensure they are accurate, as well as proof to the end consumers that they are receiving exactly what they purchased. This feature allows for selective output, custom messaging, and sorting functionality to help ensure greater accuracy.
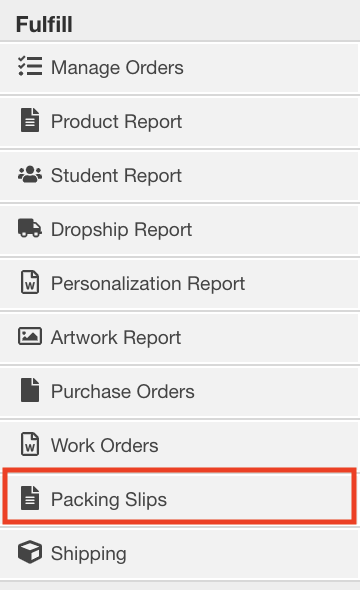
Step 1: On the left-hand side of the store you want to fulfill, click on the "Packing Slips" tab
Even though the system will automatically select all orders in the store, you can choose the filter that best suits your needs-
- Order IDs Filter - Filters by order number
- Custom Data Filter - Filters by the extra information you collected at checkout. Learn more about creating custom checkout options here.
- Shipping Method Filter - Filters by shipping method
- Date Range Filter - Filters by a specific date range
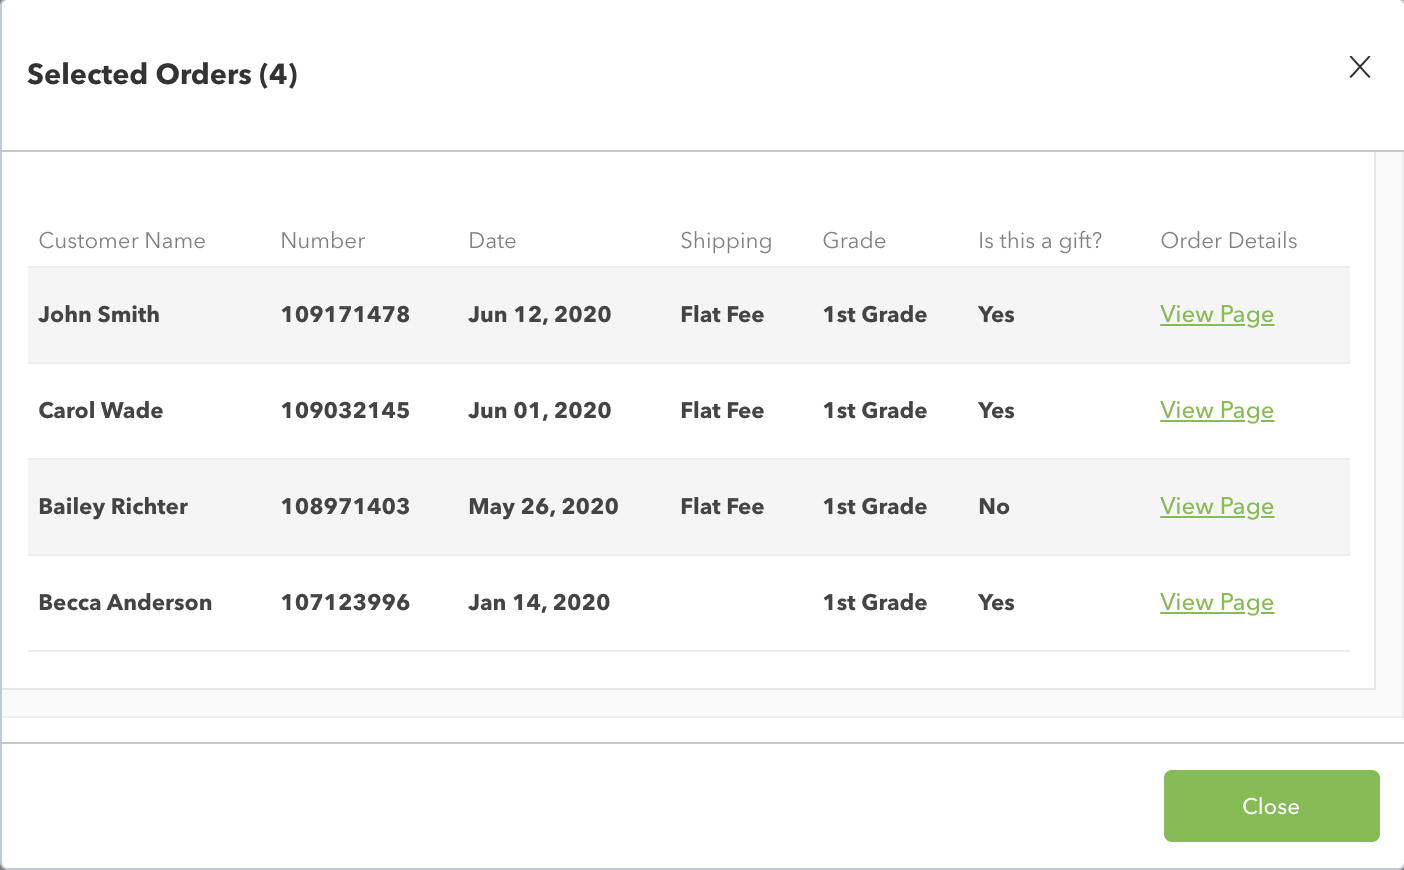
Note: You can use multiple filter options at once.
Step 2: Customize your packing slips
You can add a custom message that will show at the top of the packing slip
Note: Packing Slips will automatically include the product images but you can deselect the "Include Item Pictures" to not include the product images
Pro Tip: Click "Add Custom Message" then type in the message you want to show at the top of your packing slips and click "Apply"
Step 3: Sort packing slips for download
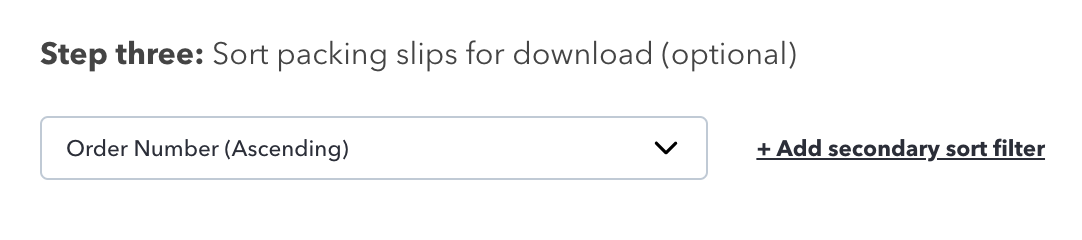
You can select how you want to sort the packing slips: date the order was placed, order number, custom fields, name, etc. Also, you can add a secondary sort filter as well. For example, you can set it to sort by order number as well as what Shipping Method they selected.
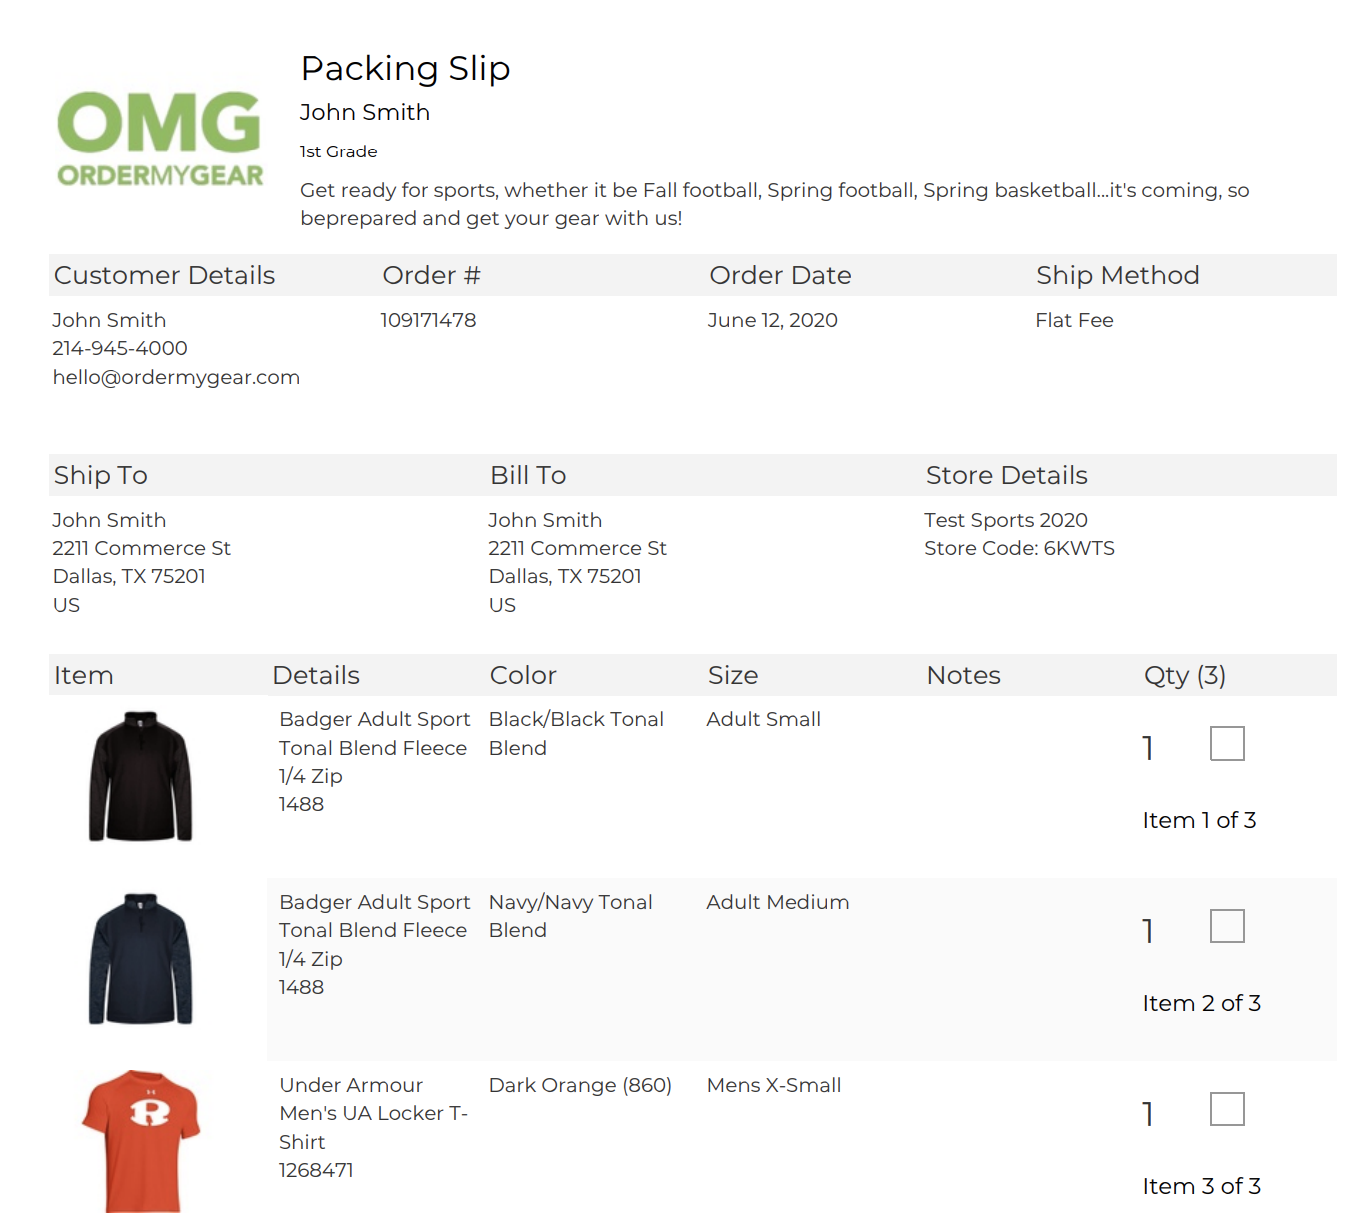
Step 4: You can either click to download the packing slips or you can have them emailed to you. Below is an example of what the packing slip will look like.
If an itemized price breakdown would better suit your needs, learn how to download your receipts in bulk here.
Comments
0 comments
Article is closed for comments.